
Vacuum forming is one of the most common methods of manufacturing packaging for various goods. From store-bought mixed salads to the lid of your take-out coffee, and even high-end electronic devices, vacuum forming is used to make lightweight, cost-effective packaging.
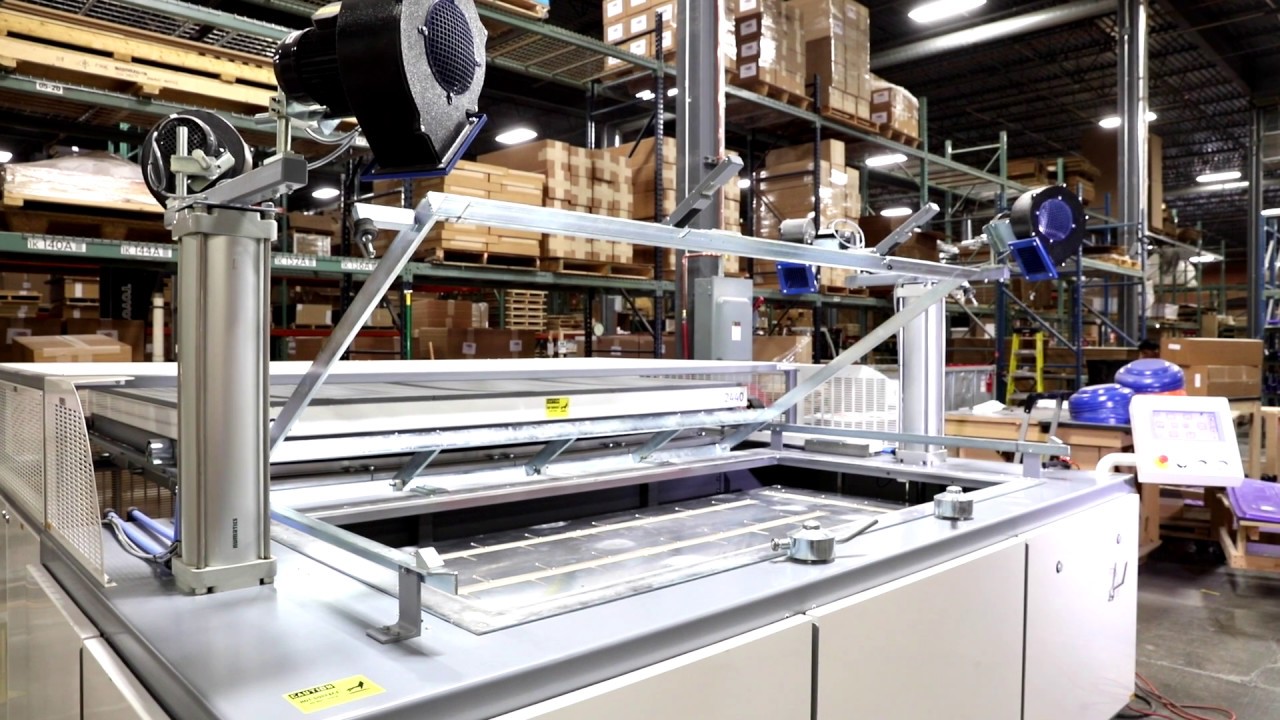
Vacuum forming process is relatively simple. It requires four main components: a mold or tool, which will shape the finished part, a plastic sheet, a heat source and a vacuum pump.
The plastic sheet is heated as evenly as possible until it becomes soft and pliable, it is then placed on the mold or tool. the vacuum is then applied and the part is allowed to cool before it is removed from the mold.
Making molds for vacuum forming through traditional manufacturing processes, such as machining or casting, is time-consuming and costly, especially when the shapes are complex, the surfaces are textured or have fine features. Designers and engineers are increasingly turning to 3D printed molds and tools for vacuum forming because they are faster and less expensive to make. In addition, it is easy to incorporate fine details such as text and intricate textures into these 3D printed molds and tools without increasing the cost of the part.
- A vacuum forming mold printed in Formasia’s High Temp Resin, next to the finished vacuum molded part. High Temp Resin has a deflection temperature under load (HDT) of 238 degrees Celsius, high enough to withstand the high temperatures of a vacuum mold.
- A vacuum forming mold printed with Formasia’s High Temp Resin, next to the finished vacuum molded part. High Temp Resin has a load deflection temperature (HDT) of 238 degrees Celsius, high enough to withstand thermoplastics like PETG and ABS.
Design Instructions
As with any other manufacturing process, specific design instructions need to be followed for successful vacuum forming. Let’s start by defining some terms before looking at some of the best practices for vacuum forming tool design.
Mold Styles
There are two main types of molds for vacuum forming: male and female. To make a domed part, the male mold will have a convex shape while the female mold will have a concave shape.
- Male mold, defined by convex or positive elements.
- Female mold, defined by concave or negative elements.
Some parts can be formed without a draft angle, but this generally facilitates their demolding and gives a homogeneous finish on all vacuum formed parts.
A draft angle of 4 to 5 degrees is recommended for male molds. For female molds, the draft angle can be lower, between 1.5 and 3 degrees. For deeper parts, increasing the draft by a few degrees can help produce quality parts that are easy to demold.
Textured surfaces will require higher draft angles in most cases, so consider this if your part is highly textured.
When the part has interior cavities, it is often necessary to add vents to the mold or master model. This allows for vacuum throughout the mold, and allows the softened plastic to be well plated.
Without evacuating the air from the negative areas, the plastic will tend to drape around the contours rather than press firmly against the shape.
The addition of vents allows the interior cavities to be evacuated, making vacuum forming easier.
Sharp corners on the edges of the mold should be rounded or chamfered if possible, to reduce stress concentration on the finished part and to reduce the risk of tearing or wrinkling the plastic during vacuum forming.
Part Depth and Stretch Ratio
It is important to keep the depth of the vacuum formed part as shallow as possible. The deeper the part, the more stretching of the plastic sheet will be required. This will mean a thicker starting sheet, more frequent wall thickness variations, and overall more difficulty in getting the operation right.
The stretch ratio is calculated by a simple formula and is a good indicator of whether a part will form properly. It gives the minimum thickness of the plastic sheet needed for the formed part to have the desired thickness.
The stretch ratio is the total area of the part divided by the area of the base. A 3:1 ratio is generally the maximum allowed for most vacuum forming operations.
To determine the starting sheet thickness, multiply the desired value of the part thickness by the draw ratio. This gives the minimum thickness of the starting sheet.
An example of a part with printing supports on the bottom only.
Differences in print configuration for male and female molds
The peel forces that detach the part from the resin tray during printing depend on the size and shape of the part.
A closed cavity, formed by a female mold oriented parallel to the manufacturing platform, will experience more stress during printing due to the possible suction effect of the cavity formed. Solid male molds do not present the same risk and are better suited for direct printing on the manufacturing platform.
In some cases, male molds can be printed directly on the manufacturing platform to reduce printing time.
Post-processing of printed molds
After printing, the next steps are to clean the surface of the parts from residual resin and post cure them to their optimal physical properties.
Cleaning vacuum formed parts
Most of the time, vacuum forming will produce parts with virtually clean shapes. This means that some aspects of the part will need to be addressed before the manufacturing process can be considered complete.
Most vacuum forming plastics are easily cut by hand with a sharp knife or with a machine tool, such as a router or milling machine.


